In this series of articles, you will learn how to use the ODFDOM Toolkit API to create documents in OpenDocument format (ODF) and extract information from ODF files.
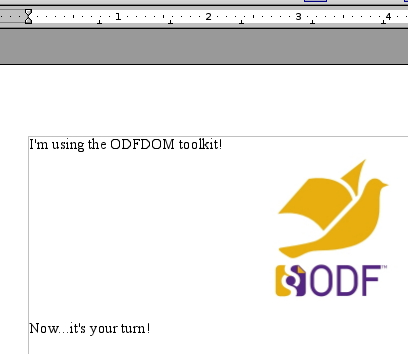
If you’re the impatient type and want to get a really quick start with the toolkit, this tutorial is for you! In about thirty lines of code, you’ll be able to produce an OpenDocument Format text document named quick.odt that looks like this:
In this tutorial, you can build and run the application from the command line. You can use a fancy IDE if you would like, but for now, let’s keep use the command line for an IDE-agnostic experience.
Since the toolkit is written in Java, you will need to have Java 11 or above installed on your system. Make sure you download the SDK (software development kit), not just the runtime version of Java.
You may download a zip file that contains the image, the source code, and all the libraries you need for this program. Specifically, you will need the ODFDOM library and Apache Xerces parser. If you download the binary file for odfdom, one of the files in this .zip file is odfdom-java-0.12.0-jar-with-dependencies.jar, which has everything we will need for our examples. (xercesImpl.jar).
Ordinarily, you would put an application into a
package, but, to keep things simple, this program
doesn’t, so the code starts off with the import
statements you need:
The OdfTextDocument class has these useful (and convenient) methods:
save() a File or
OutputStream as its argument.
Here is all the code you need to create the document. The code is
wrapped in a try/catch block in case the
image file is missing or the output document can’t be
created or saved. For simplicity, the path to the image file has
been hard-coded in this program.
Note: Because newTextDocument() creates a file that already has an empty paragraph,
the code starts with addText() rather than creating a
newParagraph().
Wrap that code into a Class declaration (public class QuickOdt), compile it,
and run it:
Really; that’s all there is to getting started with the ODFDOM toolkit. If you want something that looks better and has greater complexity (like tables, lists, etc.), you’ll need to use much more of the toolkit’s capabilities—but that’s what the other tutorials are for.
You may download a .zip file that contains all the files and libraries used in this tutorial.
Next: Learn more about OpenDocument Format and the ODFDOM API.